Pillowcase Tutorial: Patchwork Variation
We’ve created a variation on our basic pillowcase tutorial using a simple patchwork block for the front piece. This is a good beginner project, especially if you’ve already made a basic pillowcase.
All of the fabrics used to make this pillowcase are part of the Andina collection by Art Gallery Fabrics.

Let’s start by making our patchwork block. We’ve chosen a simple design called the “Odds and Ends Frame” block. The block size is 40 x 40 cm (without seam allowances). The cutting measurements we provide include a seam allowance of 0.5 cm. So, the finished block should be 41 x 41 cm, including the seam allowance.
We’ve used a seam allowance of 0.5 cm throughout this project. If you finish your seams with a zig-zag stitch or a serger, you may need to use larger seam allowances; adjust if necessary.
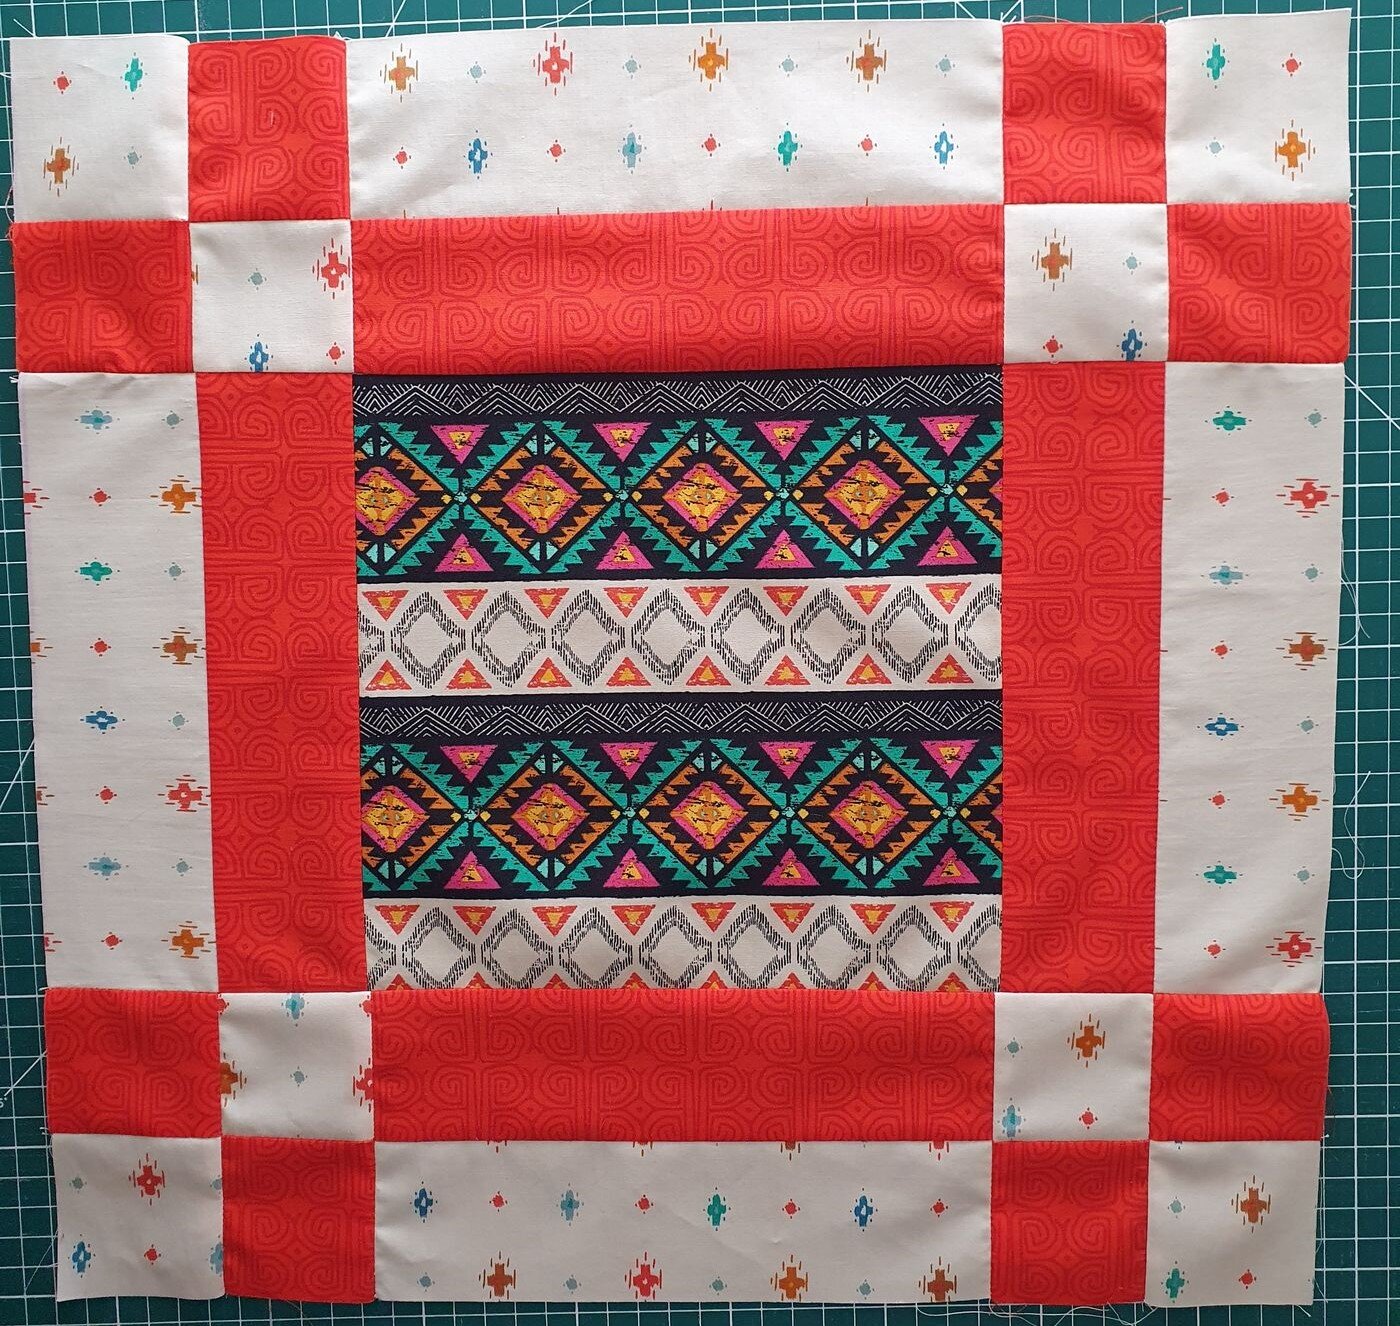
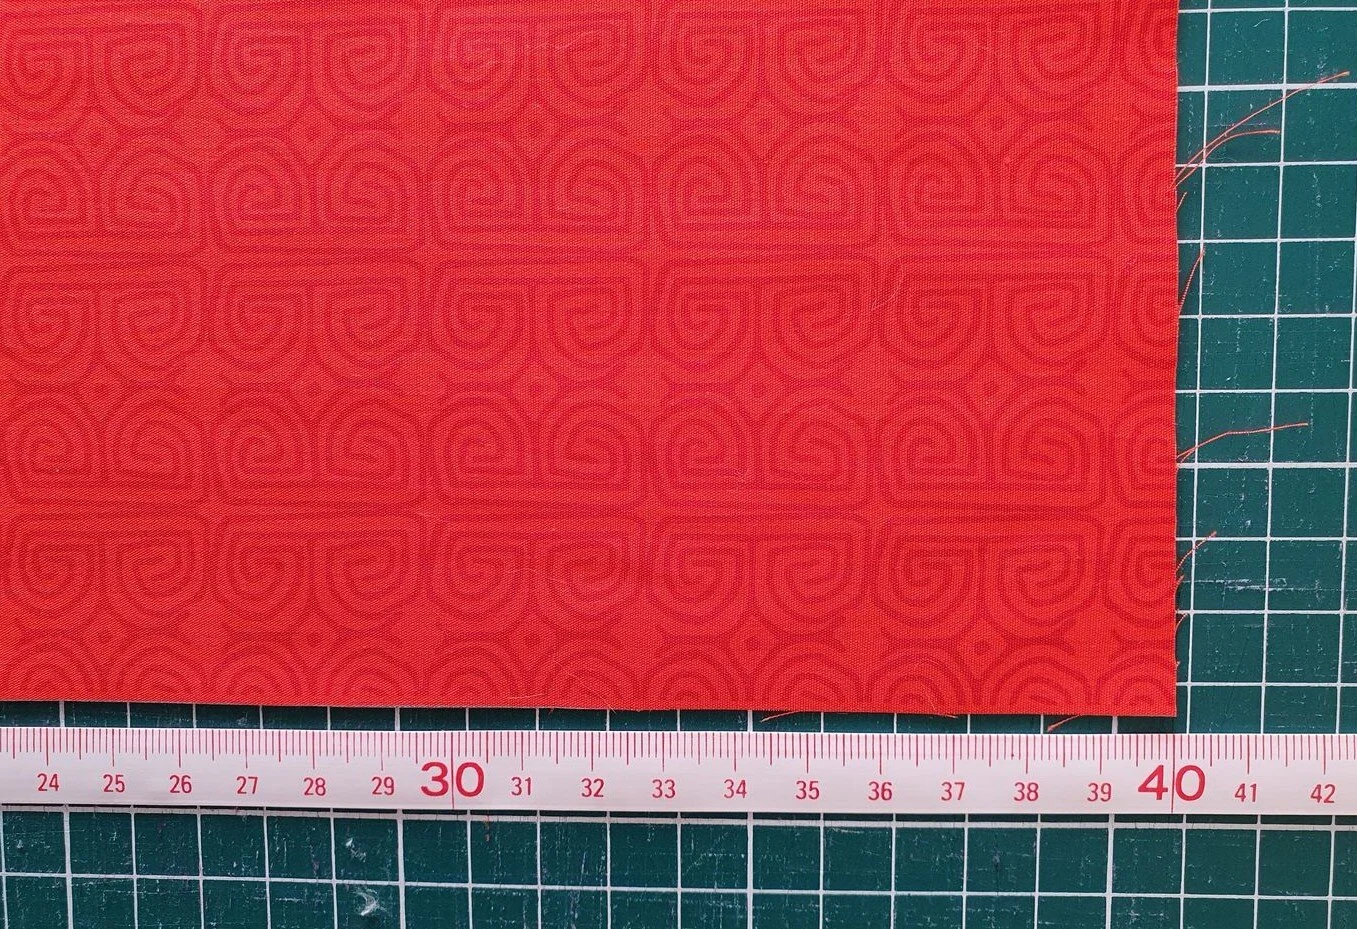
Depending on your fabric selection, you can complete this project with three different Fat Quarter prints. Because we used the red print again for the back fabric, we needed two Fat Quarters of the red fabric, and one FQ for the other two prints used in the patchwork block.
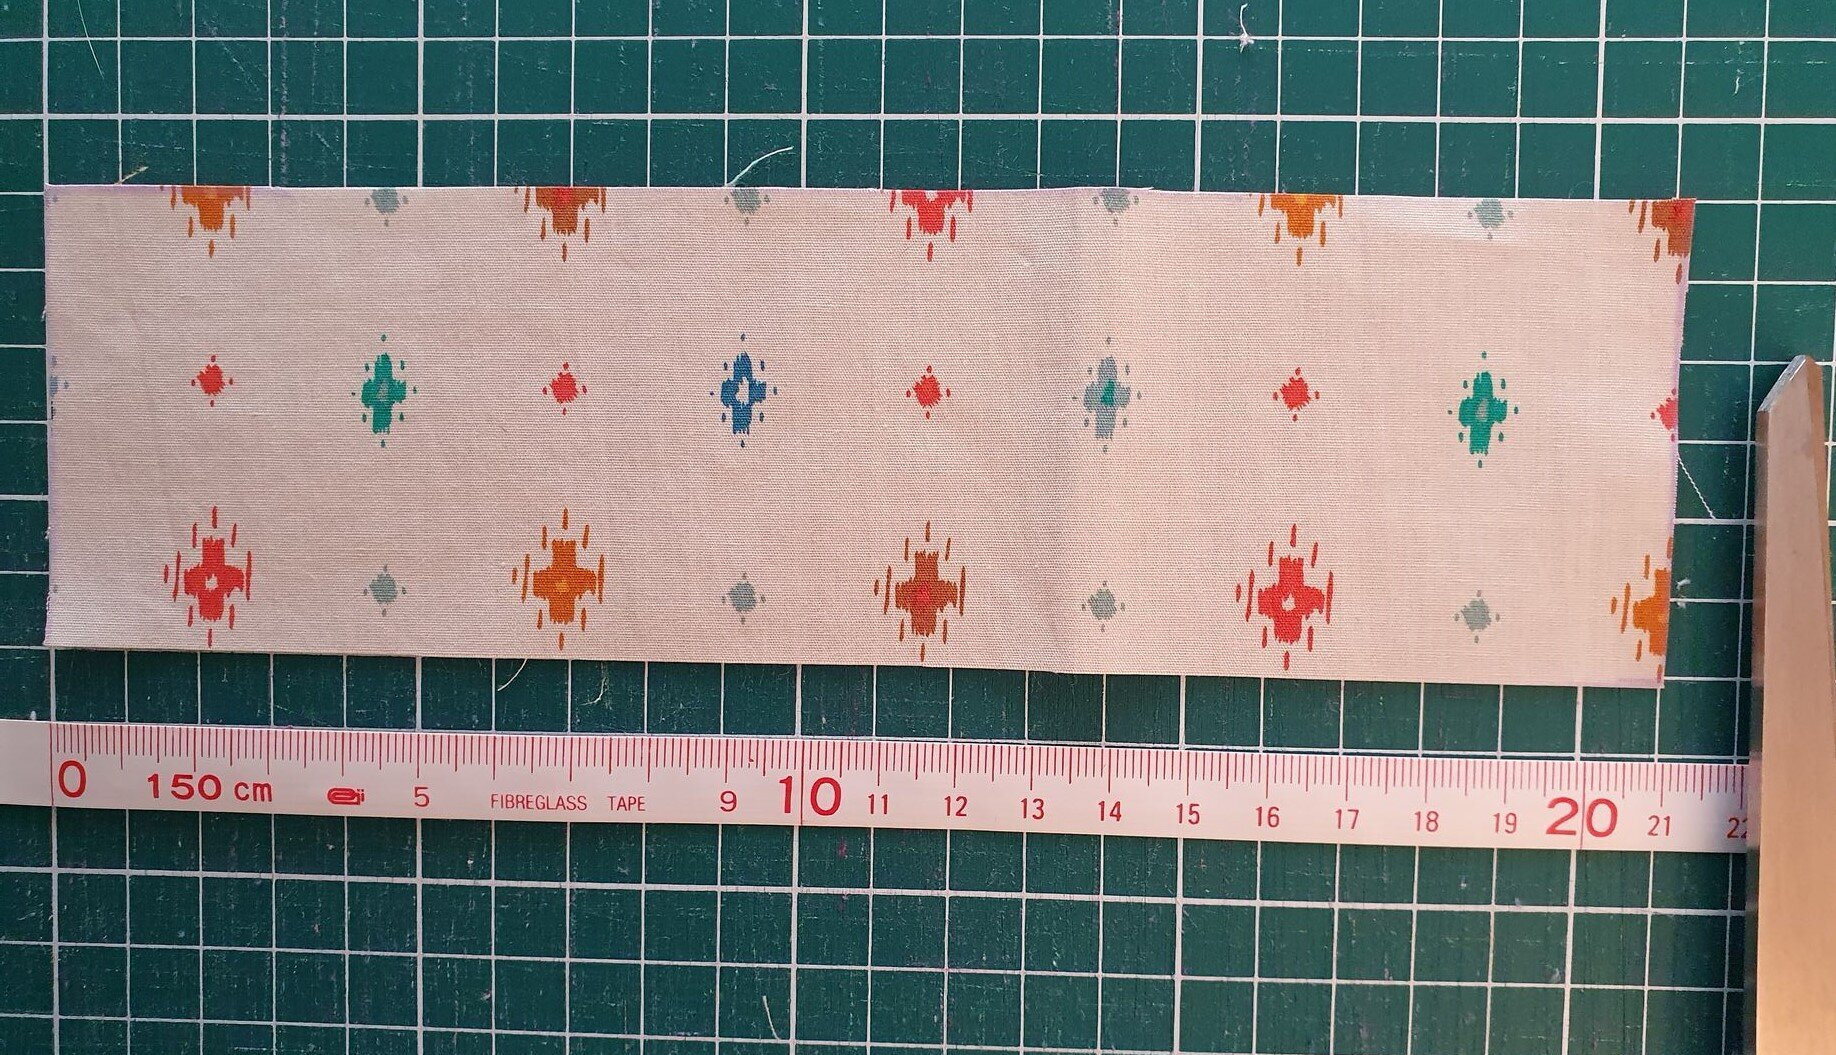
First, select an accent print for the central square. Carefully cut out a square 21 x 21 cm.

We’ve used a template (a piece of thick paper) because we’ll be using this measurement again in other projects, but you can simply measure 21 x 21 cm and cut out your fabric without a template.
Next, select two different prints that will be used in the frame around the central print.

You will cut out eight squares and four rectangles from each print.
In the first print, cut out four rectangles, each measuring 21 x 6 cm.
Then cut out eight squares, each measuring 6 x 6 cm.

Repeat these steps for the second print.


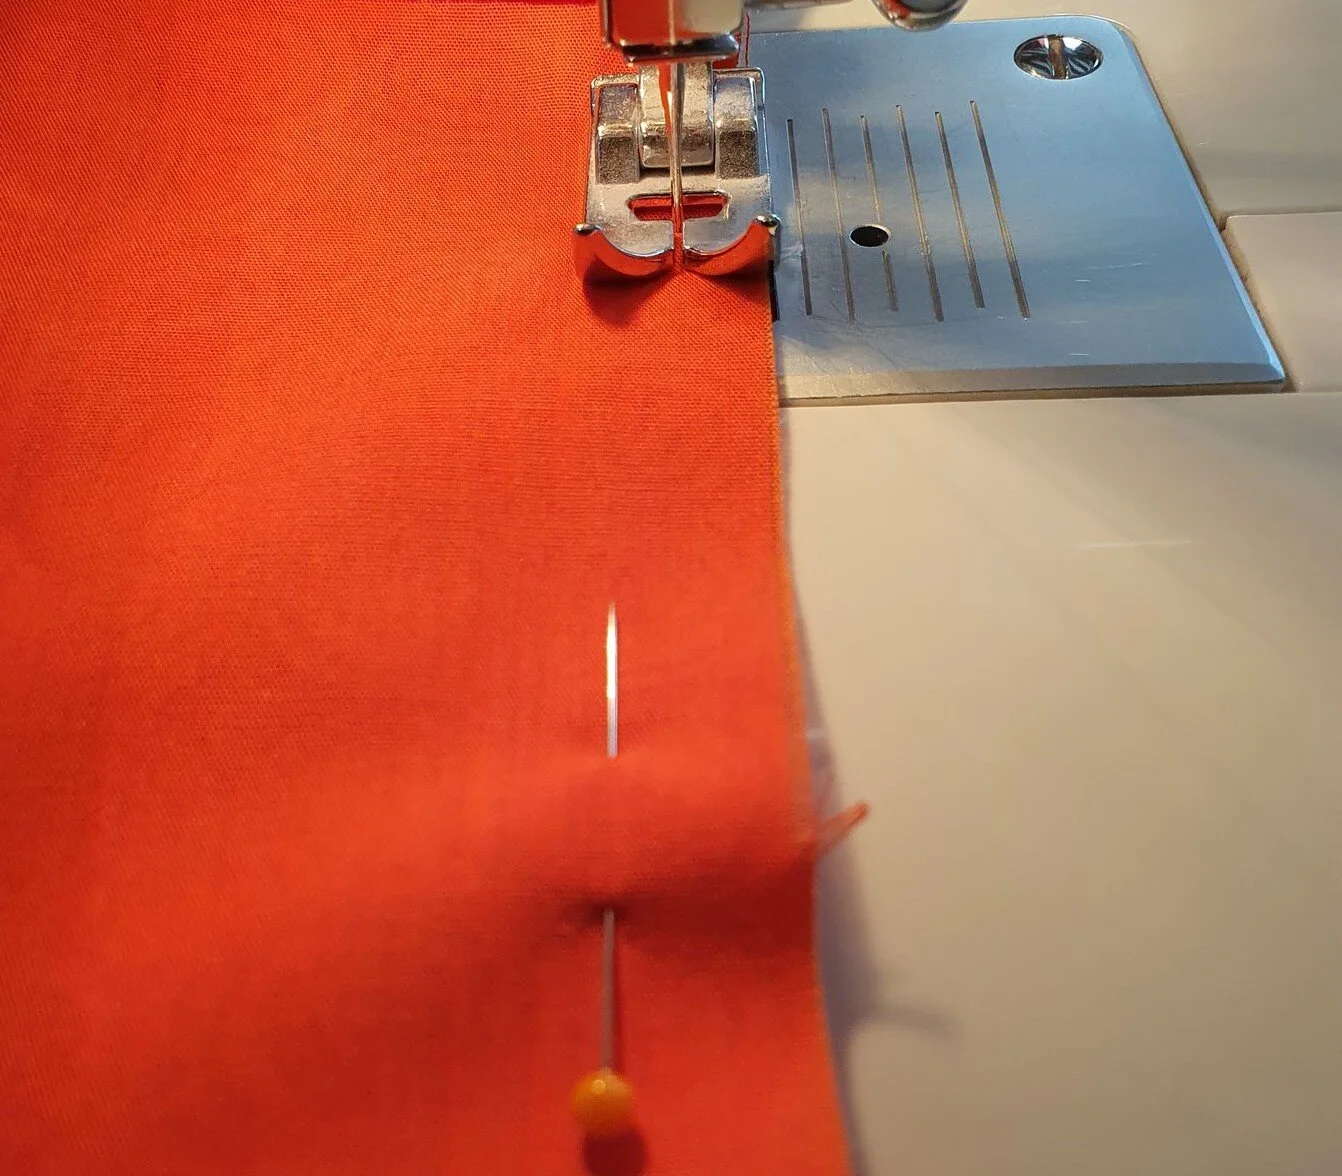
Now sew together lengthwise the two different rectangle prints. Do this four times.
Then sew together the two different square prints. Do this eight times.

Press the seam allowances to one side, in alternate directions. Press away from light colored fabric if possible.

Next, sew the squares to both ends of the rectangles, alternating prints, as shown below. Make two identical strips.

Sew the two remaining rectangular strip sets to either end of the central square, as below:

Press the seam allowances to one side, in alternate directions.
Finally, sew the remaining bands along the top and bottom of the central block. Make sure to respect your design choices when laying out the final pieces. For example, we have placed all the darker (red) rectangles next to the central block.

Press seams to one side.
If necessary, trim the block to even out the edges. It should be 41 x 41 cm.
You’ve finished the quilt block!

Now we need to add some fabric to the top of the block in order to make the flap for the pillowcase.
We chose to use the same fabric that was on the outside edge of the patchwork block in order to have a subtle transition into the flap.
Cut out a rectangle of 41 x 16 cm to make the flap.

Sew this piece lengthwise to the top of the patchwork block.

From this point on, you continue making the pillowcase as before (if you’ve already used our basic tutorial). You can refer to our basic pillowcase tutorial, but we’ve also included full instructions below.
Cut out the back of the pillowcase: 41 x 40 cm.
Sew the pillowcase front (the patchwork block) to the back fabric along the edge that measures 41 cm, right sides together.

Make the foldover seams (1 cm fold, and then again 1 cm) along the shorter edges.

Then, lay out the length of fabric flat on your work space, right sides together.

Fold down the flap, approximately 13.5 cm.

It is important to make sure that the flap is flush with the fabric for the back of the pillow along the top edge (where the fold is). We want to avoid having a gap at the fold. If this means that your flap is slightly shorter or longer than 13.5 cm, as long as the edges are aligned, it shouldn’t be a problem.
(The red fabric here was cut out a little too wide - whoops! We trimmed it down after the fact!)
Pin together the open sides of the fabric and then sew up the sides, being careful that everything lines up and lays flat.
Turn your fabric inside out and the pillowcase is finished!

